Last updated November 18, 2026








Free written scope consultation - allowances, timeline, and change-order rules on paper before a single trade is scheduled
Bathroom Remodeling Maintenance Schedule: What to Do and When
The silicone caulk at a shower floor transition typically lasts three to five years in a dry climate. In Miami Beach, eighteen months is a more honest expectation. That gap is the whole story of this guide. A newly remodeled bathroom here sits inside a salt-air, high-humidity environment that ages sealants, grout, and exhaust fan motors faster than the handoff packet from any contractor will tell you. Catching a failing caulk line at eighteen months costs about $40 in materials. Waiting until water migrates behind the tile can cost thousands. What follows is a month-by-month first-year calendar, the inspection tests that tell you when resealing is actually needed, and the tasks you should never do yourself if you want your warranty to stay intact.
Quick Answer
A new bathroom remodel in Miami Beach needs three maintenance touchpoints in year one: a caulk and grout inspection at month six, a full reseal of wet-area joints by month twelve to eighteen, and an exhaust fan cleaning and airflow check every twelve months. Reseal grout every two years in a coastal home, inspect caulk lines every six months, and document every task with photos and dates. Anything involving the shower pan, waterproofing membrane, or a leak inside a wall calls for a licensed professional, not a weekend project.
Styles & brands we work with
- Kitchen remodeling
- Bathroom remodeling
- Home additions & ADU
- Roofing
- Windows & doors
- Driveway & pavers
- Fence
Table of Contents
- Your First-Year Maintenance Calendar
- How to Inspect and Reseal Grout the Right Way
- Caulk: The $40 Habit That Saves Thousands
- Exhaust Fan Care in Salt Air
- Which Tasks Are DIY-Safe and Which Aren’t
- Documenting Maintenance for Warranty Protection
- Coastal Issues Nobody Warns You About
- Common Mistakes to Avoid
Your First-Year Maintenance Calendar
Most post-remodel guides tell you to “check things periodically.” That’s not a schedule, it’s a shrug. Here’s what a first year actually looks like for a bathroom in Miami Beach, where outdoor humidity averages above 70 percent most of the year and the interior of your home never fully dries out the way it would in Phoenix or Denver.
- Month 1: Run the exhaust fan for 20 minutes after every shower. Wipe standing water off the shower floor and glass with a squeegee. Check that the fan actually vents outdoors, not into the attic.
- Month 3: Inspect the caulk line where the shower floor meets the wall tile. Press it with a fingernail. If it’s soft or lifts, note it. Clean the fan grille.
- Month 6: Full wet-area inspection. Look for grout cracks, dark spots, or any softness in the caulk. Test the fan’s airflow by holding a tissue to the grille.
- Month 9: Recheck caulk joints. Clean the fan motor housing according to the manufacturer’s instructions. Look under the sink for early signs of moisture.
- Month 12: Annual deep maintenance. Reseal grout if the water-bead test fails (described below). Replace any caulk that has shrunk, cracked, or pulled away.
- Month 18: The caulk line at the shower floor is the highest-risk joint in the room. In our experience across Miami Beach homes, this is the point where silicone starts to lose its bond. Budget for replacement.
The reason this calendar runs ahead of a national average is simple: your bathroom’s interior humidity is higher on day one than a Colorado bathroom reaches in a decade of use. That accelerates the aging of every flexible sealant in the room.
How to Inspect and Reseal Grout the Right Way
Grout sealer isn’t permanent. Most manufacturers rate it for one to three years in normal conditions. In Miami Beach, plan on resealing every two years at most, and understand that “resealing” is not the same as “recaulking.” Grout sealant is a penetrating product applied to the porous cement-based grout lines. Caulk is a flexible sealant used at joints where two surfaces meet and move.
Before you buy anything, run the water-bead test. It tells you whether the sealer is still working, which is the only honest measure of whether you need to reseal.
- Drip a few drops of water onto the grout line in a dry area.
- Watch for ten seconds. If the water beads up and sits on the surface, the sealer is intact.
- If the water darkens the grout and soaks in within a few seconds, the sealer has worn off. Reseal that area.
- Clean the grout first with a pH-neutral cleaner and a soft brush. Let it dry 24 to 48 hours. Miami Beach humidity means drying takes longer than the label suggests.
- Apply a penetrating sealer with a small foam brush, working it into the grout lines. Wipe excess off the tile face within ten minutes.
- Let it cure for the full time on the label, and keep the room dry during curing.
The product matters. Avoid any sealer that leaves a shiny film on the surface; those top-coat products trap moisture in a humid room and can yellow. A penetrating sealer allows vapor to escape, which is what you want in a bathroom in Miami Beach where the walls are always a little damp behind the tile.
Caulk: The $40 Habit That Saves Thousands
This is the maintenance item most homeowners skip, and it’s the one with the largest financial consequence. The caulk joint at the shower pan transition – where the tiled wall meets the shower floor – is a movement joint. It’s designed to flex. When it fails, water gets behind the tile and into the substrate, and in a coastal climate the damage accelerates.
Expect to replace that shower-pan caulk joint every eighteen to twenty-four months in Miami Beach. The materials run about $40 if you do it yourself. A professional re-caulk of a single shower joint is a small line-item repair. Water damage behind tile, which sometimes means replacing part of the shower pan or a section of substrate, runs into the thousands.
Here’s how to inspect it correctly. Press the caulk with your thumbnail. It should feel firm and bonded. If it pulls away from either surface, if you see a hairline gap, or if it’s discolored in a way that doesn’t clean off, it’s time. Don’t just add new caulk over old. That’s a common shortcut and it fails within weeks.
For a proper replacement: remove the old caulk with a caulk-removal tool, clean the joint with denatured alcohol, let it dry completely (which takes longer here than you’d think), and apply 100 percent silicone caulk. Do not use acrylic-latex caulk in a wet area. It won’t hold up to the humidity. If the joint you’re re-caulking is at the shower pan and you’re unsure whether the waterproofing membrane behind it is intact, stop and call a professional. A plumber or tile setter should verify the pan is sound before you seal it. Re-caulking over a compromised pan can trap water behind the wall and make a small problem larger.
Exhaust Fan Care in Salt Air
Your exhaust fan is the single most important piece of equipment in the room. It removes the moisture that ages everything else. In a salt-air environment, the motor bearings degrade faster than the label suggests because salt and fine coastal grit get drawn into the housing and grind down the moving parts.
Clean the grille and fan blades every three months. A dusty blade throws off the balance of the fan and strains the bearing. Once a year, do an airflow test: hold a single square of toilet paper up to the grille while the fan is on. If it holds, the fan is pulling air. If it falls, the fan is running too weak to do its job, and you’re getting moisture buildup in the room that will show up as mildew on the ceiling and paint.
Every year, check the fan’s rated CFM (cubic feet per minute – the measure of how much air it moves) against the room’s cubic footage. A bathroom needs a fan rated for at least one CFM per square foot of floor space. A 50-square-foot bathroom in Miami Beach needs a minimum 50 CFM fan, and more is better. If your fan was installed during a remodel, the rating is on the label on the motor housing or inside the grille.
When a fan gets loud or starts to rattle, the bearings are usually the culprit. In a salt-air home, that’s often at year four to six, not the ten years a dry-climate homeowner might see. Replacing the fan motor is a better move than living with a noisy fan you stop using. A bathroom fan that goes unused is the leading cause of moisture damage to paint, drywall, and cabinetry in a Miami Beach condo.
Which Tasks Are DIY-Safe and Which Aren’t
Some maintenance is a homeowner task. Some is a warranty issue waiting to happen. Draw the line clearly and you’ll protect both your home and your coverage.
DIY-safe:
- Cleaning the exhaust fan grille and blades
- Testing grout with the water-bead test
- Running a pH-neutral cleaner and a soft brush on grout lines
- Applying penetrating sealer to grout (if the grout is sound)
- Squeegeeing glass, wiping water from surfaces
- Removing surface mildew with a bathroom cleaner
Call a professional:
- Re-caulking the shower pan joint if the waterproofing might be compromised
- Any repair involving the shower pan or the membrane behind the tile
- Replacing an exhaust fan motor or rewiring a fan (electrical work)
- Repairing a leak under the sink, at the toilet flange, or inside a wall
- Removing and replacing tile
- Any grout regrouting on a shower floor, where the grout is part of the water-management system
The reason the shower pan is on the professional list is straightforward: the waterproofing membrane under the tile is a single continuous layer, and any work that opens it improperly can void the warranty on the bathroom remodel. A licensed plumber or tile setter knows how to check for a compromised pan and repair it in a way that keeps the waterproofing intact. If you’re in a Miami Beach condo, also check your HOA rules before any work that touches the shower, because many buildings require licensed contractors for plumbing.
Documenting Maintenance for Warranty Protection
Here’s the part most homeowners only wish they’d done later. When a warranty claim arises years after a remodel – say, a shower leak at year three – the first question a reputable contractor asks is whether the maintenance schedule was followed. If you can’t answer that, the claim gets harder to resolve.
Keep a simple maintenance log. A notebook in the bathroom or a note on your phone works. For each task, record the date, what you did, what product you used, and take a photo. When you reseal grout, photograph the water-bead test before and after. When you re-caulk the shower joint, photograph the joint after cleanup and after the new caulk is in place.
This sounds fussy until it matters. Our 365-Day Done Right Promise covers work that fails within the guarantee period, and the free return visit if a repair fails is included on every job. But if a homeowner can show a documented maintenance history, warranty conversations move faster and more clearly. The documentation helps the contractor and the homeowner reach the same answer. Keep manufacturer labels, product receipts, and the product data sheets for any sealer or caulk you use on the job; a good contractor may ask which product you applied to determine whether a failure is a workmanship issue or a product issue.
If you’re choosing a remodeler for a bathroom in Miami Beach, ask what the warranty covers and where the maintenance requirements are written down. A written guarantee is only as good as the maintenance schedule that supports it, and a contractor who doesn’t hand you one is a contractor you should question. For a broader view of how a written-price, written-guarantee approach works, see our bathroom remodeling in Miami Beach page.
Coastal Issues Nobody Warns You About
Miami Beach bathrooms face conditions that a suburban remodel in a landlocked city doesn’t. The outdoor salt air accelerates corrosion on every metal fitting, hinge, and shower fixture. Stainless steel still shows surface rust if it’s low-grade. Chrome fixtures develop pitting faster than they would inland. If you’re planning a remodel, this is worth discussing with your contractor before products are selected – specifying solid brass or higher-grade stainless hardware saves maintenance calls later.
Window and door seals matter too. A bathroom that opens onto a balcony or faces the ocean side gets wind-driven moisture through the smallest breach. Check the weatherstripping around any exterior window or door every six months. A small gap lets salt-laden air into the wall cavity and shows up years later as bubbling paint or a soft spot.
Humidity inside the home is the other factor. Miami Beach homes with central air conditioning run a drier interior than those with window units and no dedicated dehumidification. If your bathroom stays steamy after the fan runs for twenty minutes, consider whether the fan is undersized or whether the room needs a small dehumidifier. The task connects directly to your remodel choices – the ventilation system installed during the remodel should match the room’s humidity load. Our kitchen remodeling in Miami Beach team sees the same humidity issues in kitchens near the ocean, where salt air wears on cabinet finishes and appliance seals.
Common Mistakes to Avoid
- Using acrylic caulk in a wet area. Acrylic-latex caulk breaks down quickly in high humidity and won’t last a year in a Miami Beach shower. Use 100 percent silicone at the shower pan and other wet joints.
- Sealing grout without cleaning it first. Applying sealer over dirty or mildewed grout traps the contaminants and the sealer won’t bond. Clean, dry, then seal.
- Caulking over old caulk. New caulk won’t adhere to old, and the joint fails within weeks. Remove the old caulk completely before applying new.
- Ignoring the exhaust fan because it “runs.” A fan that runs but doesn’t move enough air is worse than a fan you know is dead, because you keep relying on it. Test with a tissue at least once a year.
- Assuming a coastal home behaves like an inland one. The 3-to-5-year caulk lifespan you read about online doesn’t apply here. Plan for 18 to 24 months at the shower pan.
- Skipping documentation. Without dates and photos, a warranty claim years later becomes harder to resolve. Keep a simple log from day one.
- Assuming the HOA doesn’t care. Many Miami Beach condo buildings require licensed, permitted work for any plumbing or waterproofing repair. Check the association rules before you start.
See the difference
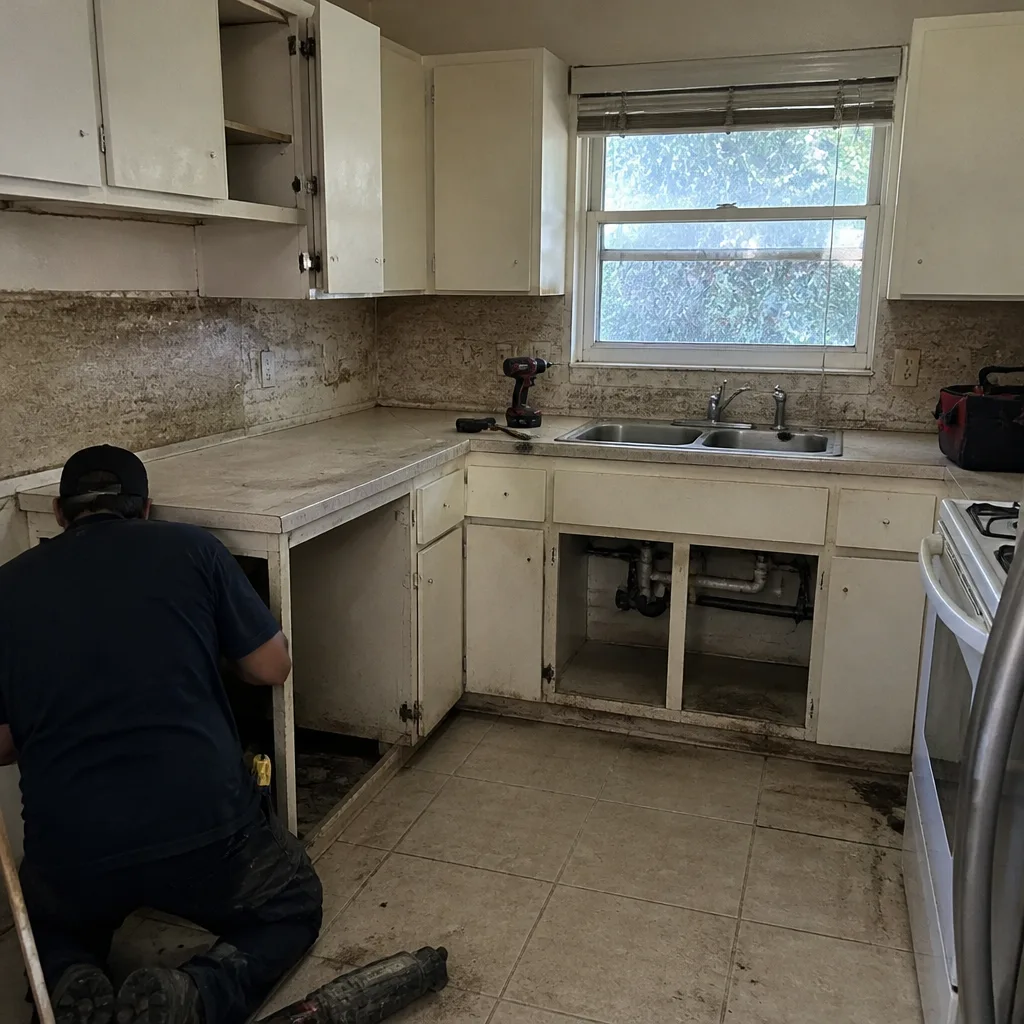 Before
 After
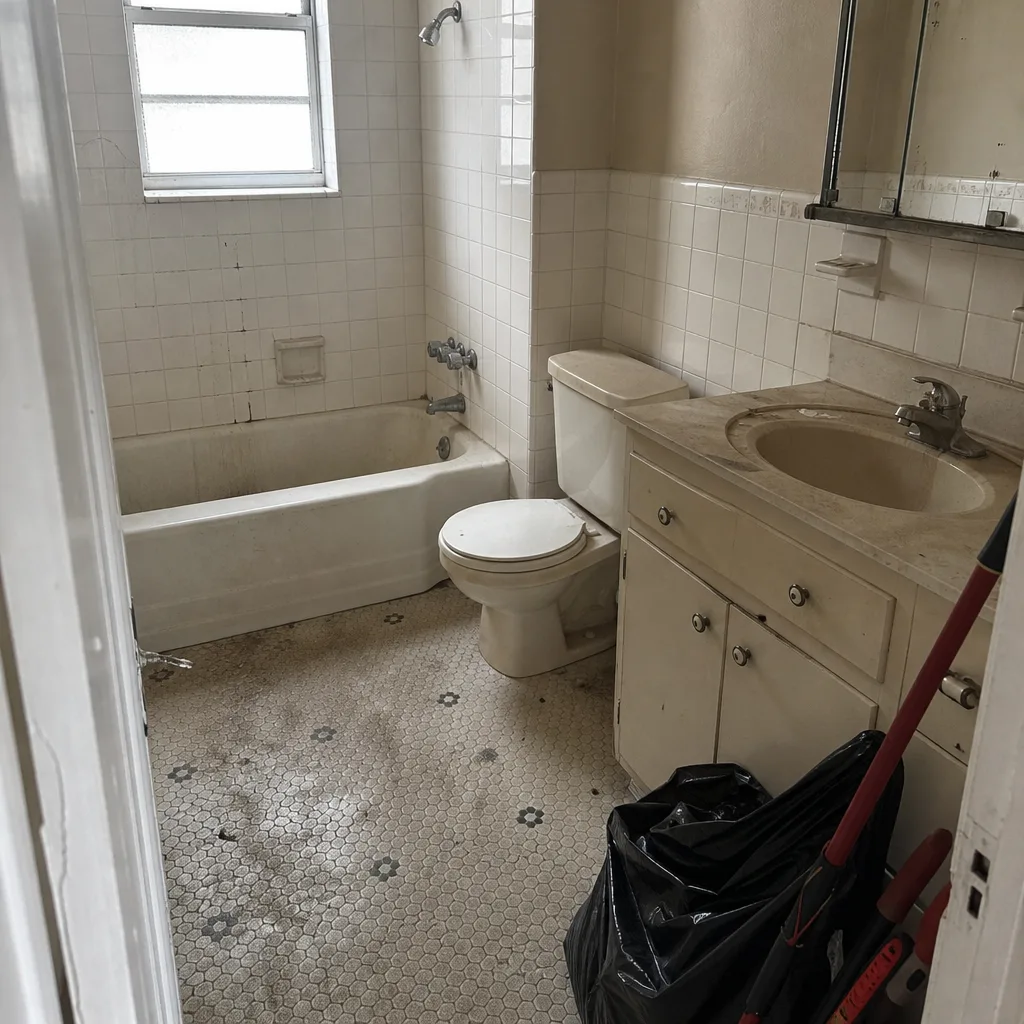 Before
 After
 Before
 After
When to Call a Professional
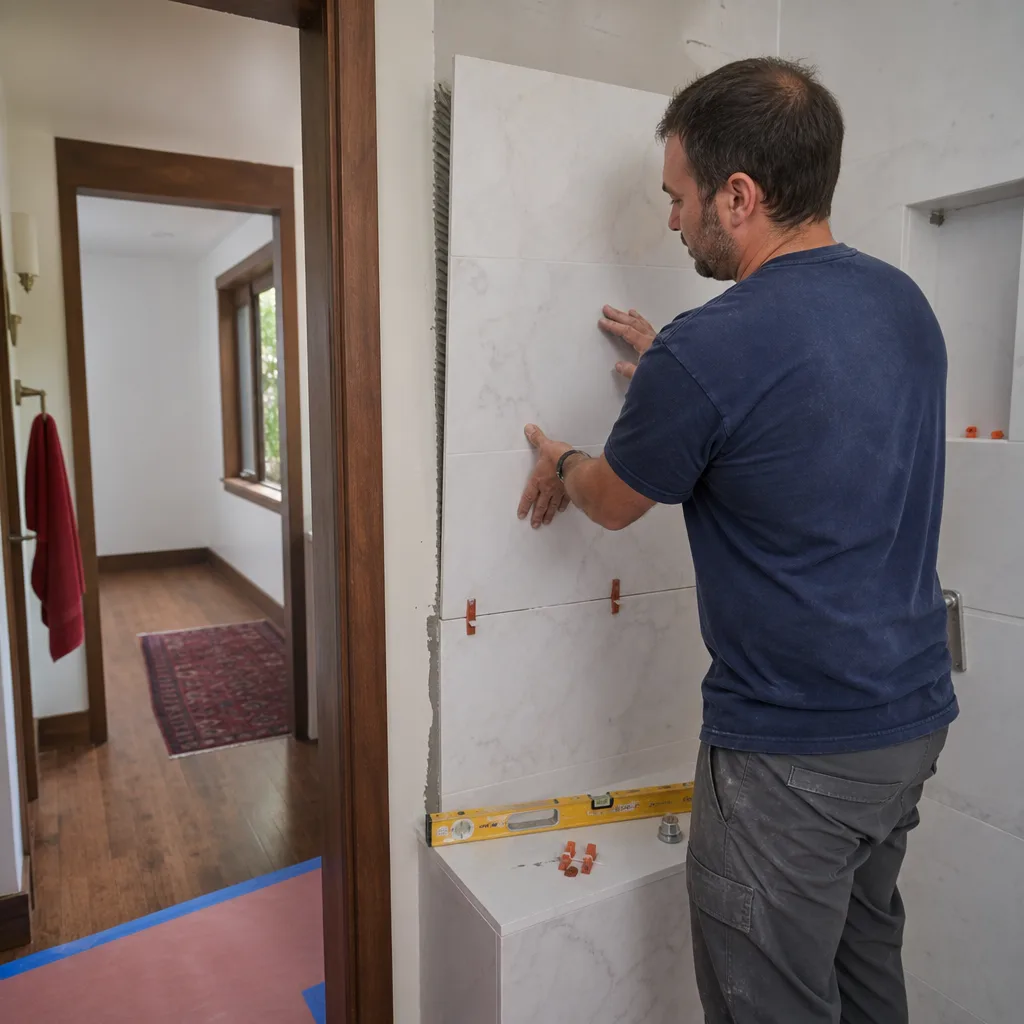
Call a professional when the issue touches the waterproofing system – the membrane under the tile, the shower pan, or the wall cavity behind the tile. Call when you see a leak at the toilet base, the supply line, or under the sink, because a small leak inside a wall becomes a mold problem in a humid climate faster than most homeowners expect. Call when the exhaust fan motor fails or when the fan’s airflow has dropped significantly. And call if you ever suspect the shower pan is compromised, even if the caulk line looks fine.
Penhallow Remodeling Miami Beach offers free estimates in Miami Beach – call (844) 656-1986 to schedule a visit. Our technicians have up to 22 years of experience and arrive background-checked and uniformed. We give you a written price before any work starts and a written guarantee on every repair, with the 365-Day Done Right Promise behind it. If a repair fails, the return visit is free.
For homeowners planning ahead, our guide on choosing a general contractor in Miami Beach covers how to evaluate a bid, and our Penhallow Remodeling Miami Beach home page explains how the written-price approach works in practice.
Frequently Asked Questions
Reseal grout every two years in a Miami Beach bathroom, using the water-bead test as your cue. Drip water on the grout line; if it soaks in within ten seconds instead of beading, the sealer has worn off and it’s time to reseal. A coastal climate wears sealer faster than an inland one, so don’t follow the one-to-three-year guidance from a dry-climate product label without testing first.
Expect 18 to 24 months at the shower pan joint in Miami Beach, not the three to five years a dry climate allows. The joint at the shower floor is a movement joint that flexes every time someone steps in, and high humidity accelerates its breakdown. Inspect it every six months with a thumbnail test and replace it as soon as it pulls away.
Replacing the caulk line at the shower pan is DIY-safe if the waterproofing behind it is sound, but if you suspect a compromised pan or a leak, a licensed plumber or tile setter should inspect it first. To keep the warranty on a bathroom remodel intact, keep a record of what you did, when, and what product you used. If the pan is suspect, call a professional. Call (844) 656-1986 for a free estimate if you’re unsure what the damage actually is.
Hold a single square of toilet paper up to the fan grille while it’s running. If the paper holds, the fan is pulling air. If it falls, the fan is too weak or clogged. Check the reason on the motor label: a bathroom needs at least one CFM per square foot of floor space, so a 50-square-foot bathroom needs 50 CFM minimum. In salt air, the motor can lose performance at year four to six, so test annually.
Run the exhaust fan for 20 minutes after every shower and wipe standing water from the shower floor. Squeegee glass doors after each use. Check that the fan vents outdoors, not into the attic. These habits from day one protect the materials and make the first six-month inspection easier. The first real inspection comes at month six.
Yes. A documented maintenance history with dates, products, and photos makes a warranty conversation move faster and more clearly. The 365-Day Done Right Promise covers work that fails within the guarantee period, and the free return visit if a repair fails is included on every job. Keep a simple log and product receipts. If a failure occurs, the documentation helps determine whether the cause was workmanship, product, or maintenance, which is the first step toward resolving it.
The Bottom Line

A bathroom in Miami Beach needs a maintenance clock that runs faster than the national advice. Inspect caulk every six months, replace the shower-pan joint every 18 to 24 months, reseal grout every two years based on the water-bead test, clean the exhaust fan every three months and test its airflow annually. Do the simple tasks yourself, but call a licensed professional for anything touching the waterproofing membrane, the shower pan, or electrical work. Document every task with dates and photos so a warranty claim years later has the evidence behind it. Penhallow Remodeling Miami Beach offers free estimates – call (844) 656-1986 to schedule yours.
Written by the team at Penhallow Remodeling Miami Beach.