Last updated November 18, 2026








Free written scope consultation - allowances, timeline, and change-order rules on paper before a single trade is scheduled
Bathroom Remodeling Troubleshooting: Common Problems and How to Fix Them
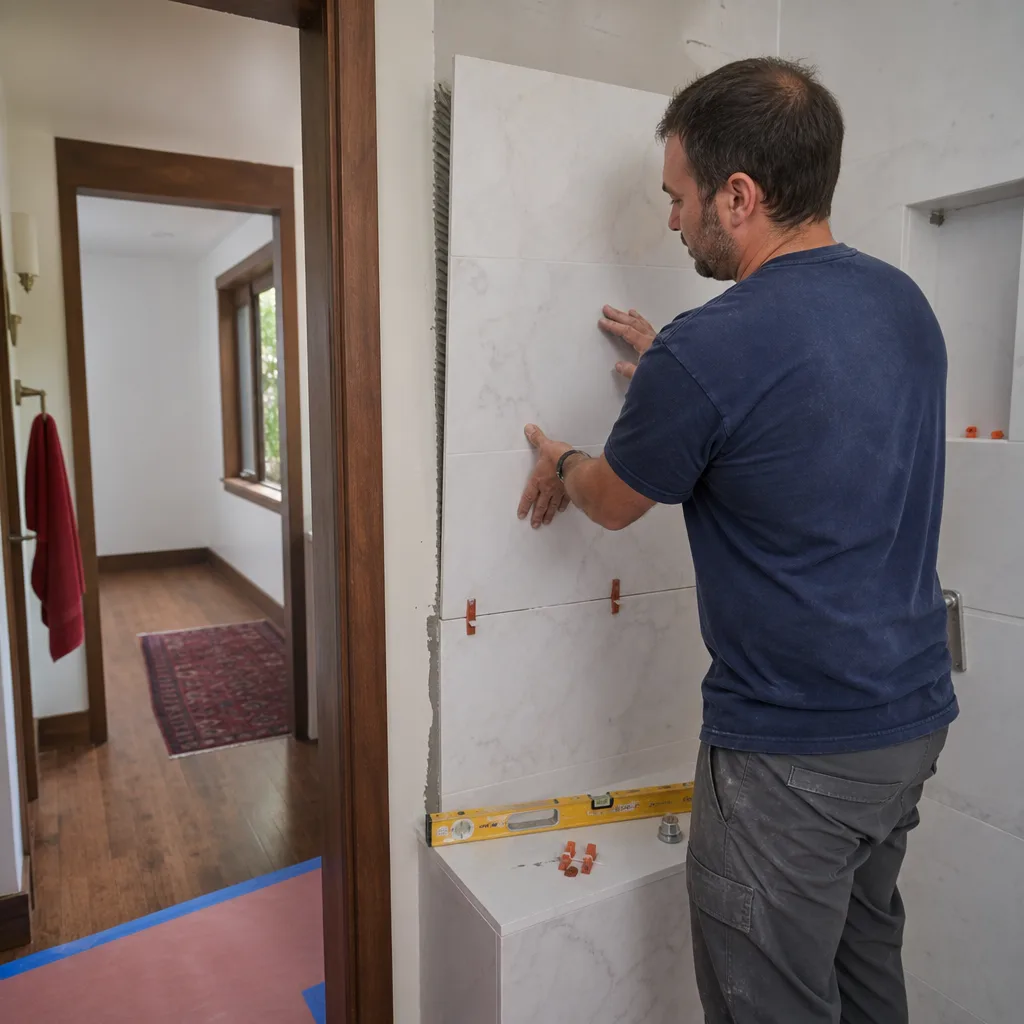
Grout cracking within the first year isn’t a grout problem. It’s almost always a substrate problem, which means the tile has to come back off to fix it properly, and no amount of re-grouting on top will hold. That’s the hard truth we lead with because it saves homeowners money. In Miami Beach, the humidity, salt air and seasonal downpours put a bathroom through more than most climates do, and the failures we diagnose here cluster around three root causes: inadequate waterproofing, tile set on a substrate that wasn’t prepped right, and ventilation spec’d for a different climate entirely. This guide shows you how to tell which problem you have, what the honest fix costs, and what to put in writing.
Quick Answer
Most bathroom remodel problems trace to one of three failures: a waterproofing membrane that was skipped, breached or installed wrong; tile bonded to a substrate that was never properly prepared; or an exhaust fan too weak for Miami Beach’s humidity. Diagnosing which one you have determines the repair path and cost. Grout cracking and tile lippage usually mean substrate movement. Staining or soft drywall near a shower means moisture is escaping the wet zone. Persistent fog and musty smells point to ventilation. Fix the root cause, not the symptom, or it returns.
Styles & brands we work with
- Kitchen remodeling
- Bathroom remodeling
- Home additions & ADU
- Roofing
- Windows & doors
- Driveway & pavers
- Fence
Table of Contents
- The Diagnostic Checklist: Grout Cracking vs. Tile Lippage vs. Adhesion Failure
- How to Find the Source of a Bathroom Leak Without Opening Every Wall
- What Your Mold Pattern Tells You About the Moisture Source
- Why Waterproofing Fails in Miami Beach Homes
- Ventilation Spec’d for the Wrong Climate
- How to Document Bathroom Defects in Writing
- Workmanship Guarantee vs. Product Warranty
- What Repairs Honestly Cost
The Diagnostic Checklist: Grout Cracking vs. Tile Lippage vs. Adhesion Failure
These three look related but travel completely different repair paths. Get the diagnosis right and you avoid paying to fix the wrong thing.
Grout Cracking
Cracks that follow a straight line along a grout joint, or that reappear after re-grouting, signal movement underneath. The tile is shifting because the substrate flexes, the cement board wasn’t fastened to spec, or there was no uncoupling membrane between the tile and the floor. Re-grouting hides it for six weeks. Then it comes back. A proper fix means removing the affected tile, assessing the substrate, and rebuilding the assembly.
Tile Lippage
Lippage is when one tile edge sits higher than its neighbor, creating a lip you can catch a fingernail on. Some lippage is a setting error (trowel technique, not back-buttering). Significant lippage across a whole field usually means the substrate isn’t flat. The fix depends on scale: a handful of tiles can be reset; an entire floor often needs the substrate corrected, which means the tile comes up.
Adhesion Failure
Hollow-sounding tiles, tiles that rock underfoot, or a tile that lifts cleanly off the floor with no thinset stuck to its back mean the bond failed. Causes include thinset skinned over before the tile went down, dust on the substrate, or the wrong thinset for the tile type (large-format porcelain needs a modified thinset, not the basic bag). Adhesion failure is the most serious of the three because it can progress to water intrusion behind the tile.
Diagnostic order to follow:
- Tap each tile with a screwdriver handle. A hollow ring means poor adhesion.
- Run a straightedge across the floor. Gaps over 1/8 inch in 10 feet mean the substrate isn’t flat.
- Look at the crack pattern. Straight lines along joints = movement. Spiderweb cracks = point load or settling.
- Check for moisture. A dark grout line that stays dark hours after a shower means water is behind the tile.
How to Find the Source of a Bathroom Leak Without Opening Every Wall
You can narrow a leak to one of three systems before anyone touches drywall: the plumbing supply, the drain, or the waterproofing membrane. Each leaves a different signature.
Supply Line Leaks
Supply leaks run continuously. They show up as a constant damp spot, a water bill that jumps even when nothing’s running, or a slow drip you can hear with the water off. If the stain on the ceiling below grows overnight while nobody’s using the shower, suspect the supply side. A pressure test at the shutoff isolates it.
Drain Leaks
Drain leaks only appear when water is flowing. Run the shower for five minutes, stop, and mark the edge of the ceiling stain with a pencil. If it doesn’t grow after that, the supply is likely fine and the drain connection is suspect. A common culprit is the drain flange seal, especially on older Miami Beach homes where cast iron or brass drains have corroded at the joint.
Waterproofing Membrane Leaks
Membrane leaks show up after showers, but not immediately. The water wicks slowly through the assembly. A smell of damp cement or mildew in the wall cavity, staining that grows a day after use, or a soft spot at the shower curb all point here. The membrane has failed (or was never installed to begin with) and the only fix that lasts is removing the tile, correcting the waterproofing, and re-tiling.
A three-step isolation test you can do before calling anyone:
- Shut off the shower for 24 hours. Mark the stain edge. If it grows, the supply side is leaking.
- Run the shower for five minutes, then stop. Wait 24 hours. If the stain now grows, the drain is leaking.
- If neither test moves the stain but a damp smell persists, the waterproofing membrane has failed.
What Your Mold Pattern Tells You About the Moisture Source
Not all mold means the same thing. The pattern on your walls and ceiling tells you whether you have a surface problem or a cavity problem, and those require completely different responses.
Surface Mold
Surface mold shows up as a powdery or fuzzy film on painted surfaces, grout lines, or the ceiling above the shower. It wipes off with a rag and reappears within weeks. This points to humidity that isn’t being exhausted – the venting problem discussed below, or a cold surface (an uninsulated exterior wall) where warm Miami Beach air condenses. Fixing the ventilation or insulation stops the growth without removing any material.
Cavity Mold
Cavity mold is behind the drywall, in the wall cavity, or under the tile. You often can’t see it – you smell it. A musty, earthy odor that doesn’t clear after cleaning, soft spots in drywall, or discoloration that bleeds through paint point to moisture stuck behind a vapor barrier. Cavity mold means the wall or shower has to open up. The moisture source gets fixed first, the affected materials come out, and the assembly is rebuilt correctly.
The Pattern Test
- Mold on upper walls and ceiling only: ventilation and condensation. Surface response.
- Mold concentrated at the shower curb, bench, or niche: waterproofing failure. Cavity response.
- Mold inside cabinets under the sink: supply or drain leak. Fix the leak first, sanitize second.
- Mold in a ring around the exhaust fan: the fan is running but the duct is disconnected or leaking into the attic cavity.
In our experience working on Miami Beach bathrooms, the shower niche and the curb are the two places cavity mold shows up first. Those are the spots where membrane laps get rushed. If you can trace the smell to the niche, you already know where to start.
Why Waterproofing Fails in Miami Beach Homes
Waterproofing is the one layer nobody sees, and it’s the one that matters most. When it fails, everything above it fails with it. In Miami Beach, three conditions make it fail more often here than in drier markets.
- Salt air and humidity: Older Miami Beach homes sit close to the ocean, and the ambient moisture load is high. A membrane that relies on a single coat of liquid latex (a common shortcut on older showers) breaks down faster in this climate than it would inland.
- Historic building stock: Many Miami Beach properties date from the 1940s through the 1970s, and their bathrooms were built with a mortar bed and no modern membrane at all. A remodel that tiles over that assembly without installing a bonded membrane (or a sheet membrane like Schluter Kerdi) leaves the new tile riding on the same aging base.
- Flood-prone first floors: Ground-floor bathrooms in low-lying parts of Miami Beach see water during heavy rain events. A properly sealed shower pan has to handle not just shower water but any intruding ground moisture wicking up through the slab.
The correct assembly is a continuous, bonded waterproofing membrane from the shower curb up the walls to the height of the showerhead, plus a sloped pan that drains to the weep holes in the drain. When we do a Bathroom Remodeling in Miami Beach project, that membrane goes in before any tile, and the liner is flood-tested before setting. If a contractor can’t tell you what waterproofing system they use and how they test it, that’s your answer about what’s under the tile.
Ventilation Spec’d for the Wrong Climate
Most bathroom exhaust fans are sized for a dry climate. Miami Beach isn’t one. The result is underpowered ventilation, chronic fog, and surface mold that nobody can figure out after cleaning.
The rule of thumb: a fan should move about 1 CFM per square foot of bathroom, with a minimum of 50 CFM. A 6-by-8 bathroom (48 square feet) needs at least 50 CFM. A larger bathroom with a soaking tub or a two-person shower needs 80 to 110 CFM, and if the ceiling is over 8 feet, you add more because the air volume grows. Miami Beach’s average relative humidity sits high year-round, so we size on the higher end.
The other half of the problem is ducting. A fan is only as good as the path its air takes out. Flex duct that runs 25 feet and elbows three times to reach a soffit vent will lose most of its capacity. Ducting that exhausts into the attic instead of outside is worse – it dumps the moisture into a cavity. The fix is short, smooth metal duct with as few turns as possible, terminating outside the building.
Signs the ventilation is undersized:
- Mirrors fog and stay fogged more than 10 minutes after a shower.
- Mold reappears on the ceiling within a month of cleaning.
- The fan runs but airflow at the ceiling grille feels weak when you hold a tissue to it.
- The paint above the shower starts to peel or bubble.
A General Contractor in Miami Beach should catch a problem fan during a remodel. If your bathroom is a decade old and the fan has never been upgraded, that’s the first thing we check.
How to Document Bathroom Defects in Writing
If a contractor claims the work was done correctly and you disagree, the paper trail matters more than the argument. Here’s the language that gets results.
- Photograph with scale. A photo of a grout crack tells nobody how wide it is. Lay a ruler or coin along the crack and photograph again. Include a photo of the whole wall for context.
- Date and describe. Write a paragraph per defect: date first observed, location in the room (measured from a corner), size of the defect, and what you were doing when you noticed it. Example: “On August 14, a 14-inch crack appeared along the grout joint at the shower curb, running from the left corner toward the drain. Crack width at widest point is 1/16 inch.”
- Name the system, not the symptom. Instead of “the shower leaks,” write “water is wicking behind the east shower wall and showing as a damp spot on the ceiling of the floor below, first observed on August 20.” A contractor can defend against a symptom. A documented downstream effect is harder to argue with.
- Reference the written scope. If the contract specified a bonded waterproofing membrane and the report says the membrane was installed, the question becomes whether the substrate was prepped. Reference the exact line in the scope of work.
- Request a written response, not a phone call. Put in writing that you’re requesting an inspection and written remediation plan. A verbal “we’ll take care of it” is worth nothing six months later.
This documentation is also what triggers a workmanship claim. Without it, the contractor’s position is that you caused the problem. With it, the conversation changes. Penhallow Remodeling Miami Beach presents a written price before work starts and a written guarantee on every project specifically because the paperwork is the whole point. If something fails, the written guarantee is what makes the fix happen.
Workmanship Guarantee vs. Product Warranty
These are two different promises from two different companies, and homeowners mix them up constantly. Getting the distinction right tells you who to call.
Workmanship Guarantee
A workmanship guarantee covers the labor and installation. If the tile pops because the substrate wasn’t prepared, if the shower pan leaks because the membrane laps were wrong, if the drain weeps because the flange wasn’t sealed – that’s a workmanship defect. The contractor who installed it covers it. This is the guarantee that’s easy to talk about and hard to get in writing. Our 365-Day Done Right Promise puts it in writing on every project: if the work fails inside the guarantee period, we come back and fix it at no charge. No third-party runaround, no “call the manufacturer.”
Product Warranty
A product warranty covers the material itself. Faucet cartridges, drain assemblies, tile glazes, vanity finishes, and cabinetry hardware all carry warranties from their manufacturers. A Kohler faucet that drips from a bad cartridge is a product claim against Kohler. A Moen shower valve that fails internally is a Moen warranty claim. The manufacturer ships the part; the labor to install it may or may not be covered, which is why you want to know who covers what before you need it.
What to check when both apply
- Brand warranty documents: Keep the warranty cards, model numbers and purchase receipts. American Standard and Toto fixtures, for example, each have their own registration process.
- The contractor’s written guarantee: Read what it covers and what it excludes. Workmanship guarantees typically cover the installation, not the product.
- Who handles the fix: A good contractor coordinates the product claim on your behalf. If a supply line fails on a Kohler fixture, we handle the manufacturer side and cover the labor under our guarantee, so you’re not stuck in the middle.
What Repairs Honestly Cost in Miami Beach
Real numbers help you decide whether to repair or replace. These are typical ranges for the Miami Beach market, and what moves them up or down.
- Grout repair (surface only, no substrate fix): $150-$400 for a shower or tub surround. This is a temporary fix if the substrate is the cause.
- Reset a handful of loose tiles: $300-$800, depending on tile type and whether matching tile is still available.
- Substrate repair and re-tile a shower floor: $1,800-$4,500. Includes tear-out, substrate repair, new waterproofing membrane, and new tile. The scope of the waterproofing work is the biggest cost driver.
- Full shower rebuild (tear-out, membrane, tile, drain): $4,500-$9,500. Whether the shower pan was built into a mortar bed or a prefabricated pan changes the labor significantly.
- Exhaust fan replacement (properly sized, ducted outside): $350-$900, depending on whether new ductwork has to be run.
- Cavity mold remediation after a leak: $1,200-$3,800 for a typical bathroom wall and ceiling, before any tilework to rebuild.
What drives the number up: large-format porcelain tile (more prone to lippage and needs a flatter substrate), a shower with a bench or niche (more membrane detail work), and older Miami Beach homes where the tear-out reveals framing that needs repair. What keeps it down: catching the problem while it’s still adhesion-only, having matching tile on hand, and working with a contractor who prices up front.
Every one of those numbers should appear in a written scope before work begins. If a contractor won’t give you a written price, don’t sign. That’s the single most common way a bathroom repair turns into a five-figure surprise.
Common Mistakes to Avoid
- Re-grouting over a cracked joint that keeps returning. Grout is not structural. If it cracks twice in the same spot, the substrate is moving and the fix lives underneath.
- Caulking a tile joint next to a shower curb instead of addressing the membrane. Caulk hides the leak and traps water behind it. The membrane has to be corrected, not covered.
- Installing a new tile floor over a wet substrate. Wet cement board has to dry fully before setting new tile – otherwise the thinset never cures to spec.
- Sizing an exhaust fan by the box label instead of the room. A builder-grade 50 CFM fan in a 100-square-foot bathroom with a tub is undersized for a Miami Beach humidity load.
- Assuming a product warranty covers the install. A faucet warranty covers the cartridge, not the plumber who cross-threaded the fitting. Know the difference before you have a problem.
- Skipping the flood test on a rebuilt shower pan. A properly sealed pan is tested by filling it with water and letting it stand 24 hours. If the contractor skips that step, ask why.
- Going with the cheapest bid from a contractor who can’t name their waterproofing system. The lowest price is often the one that skipped the membrane.
See the difference
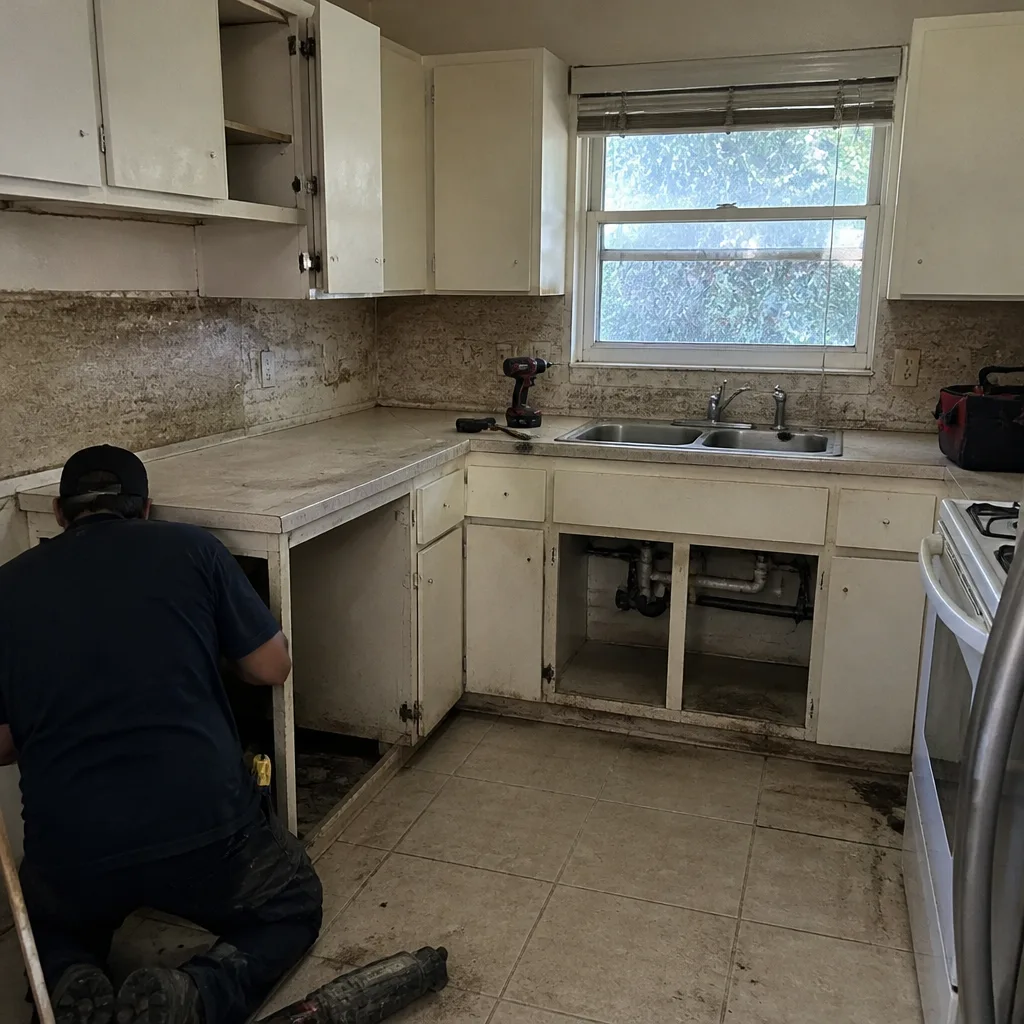 Before
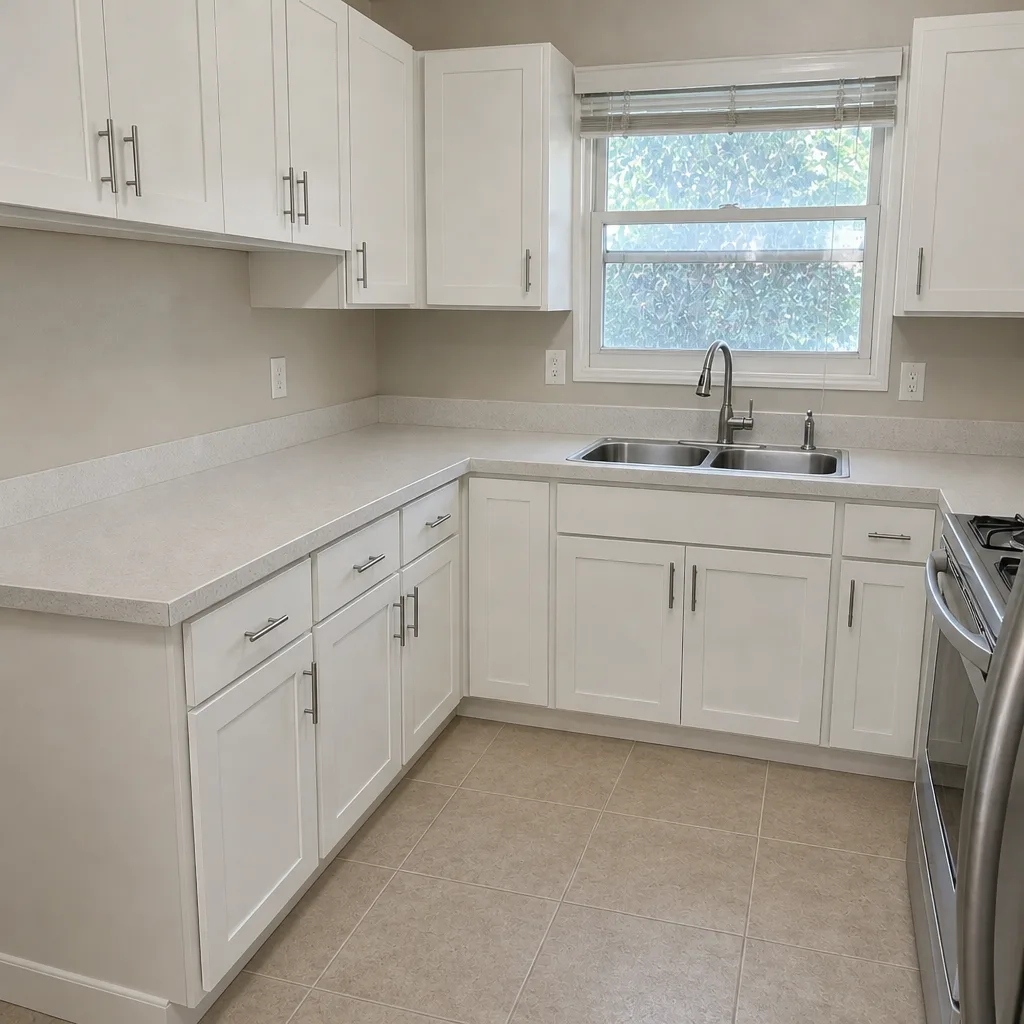 After
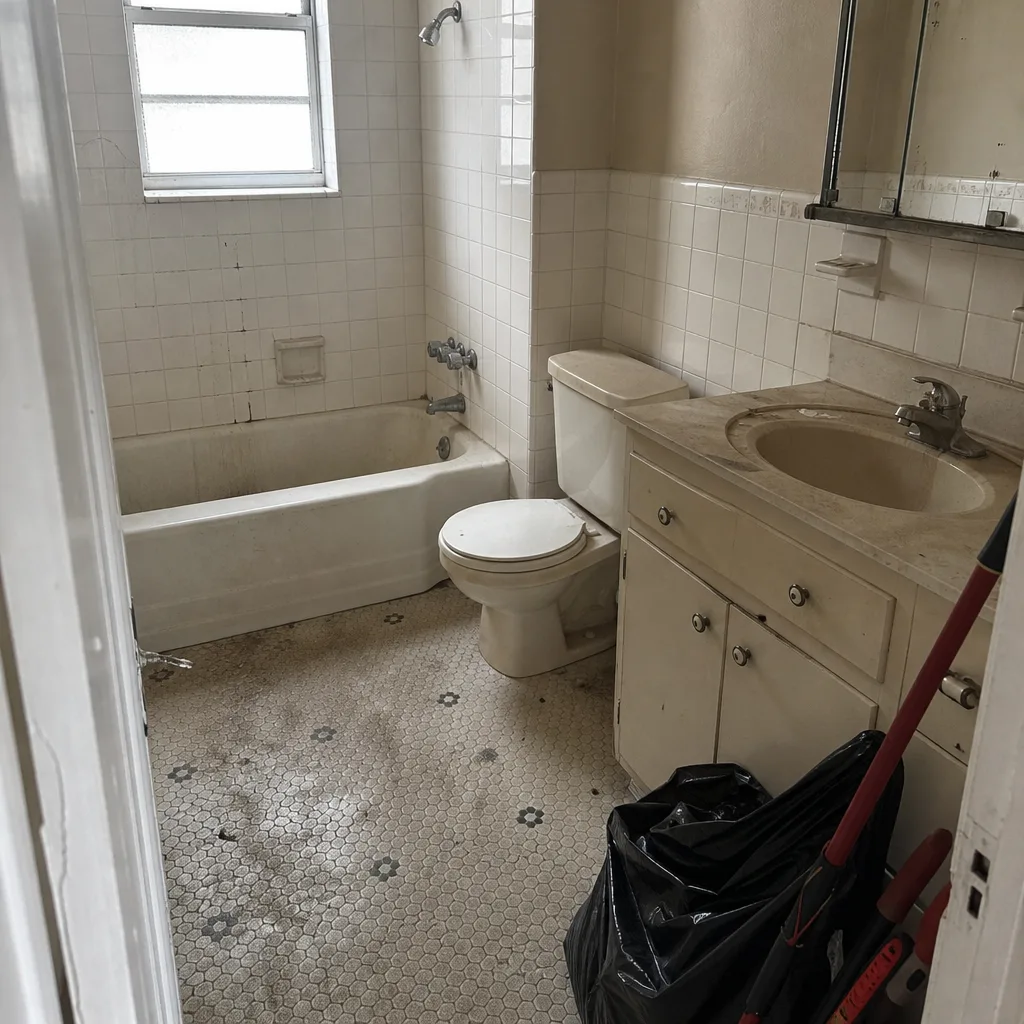 Before
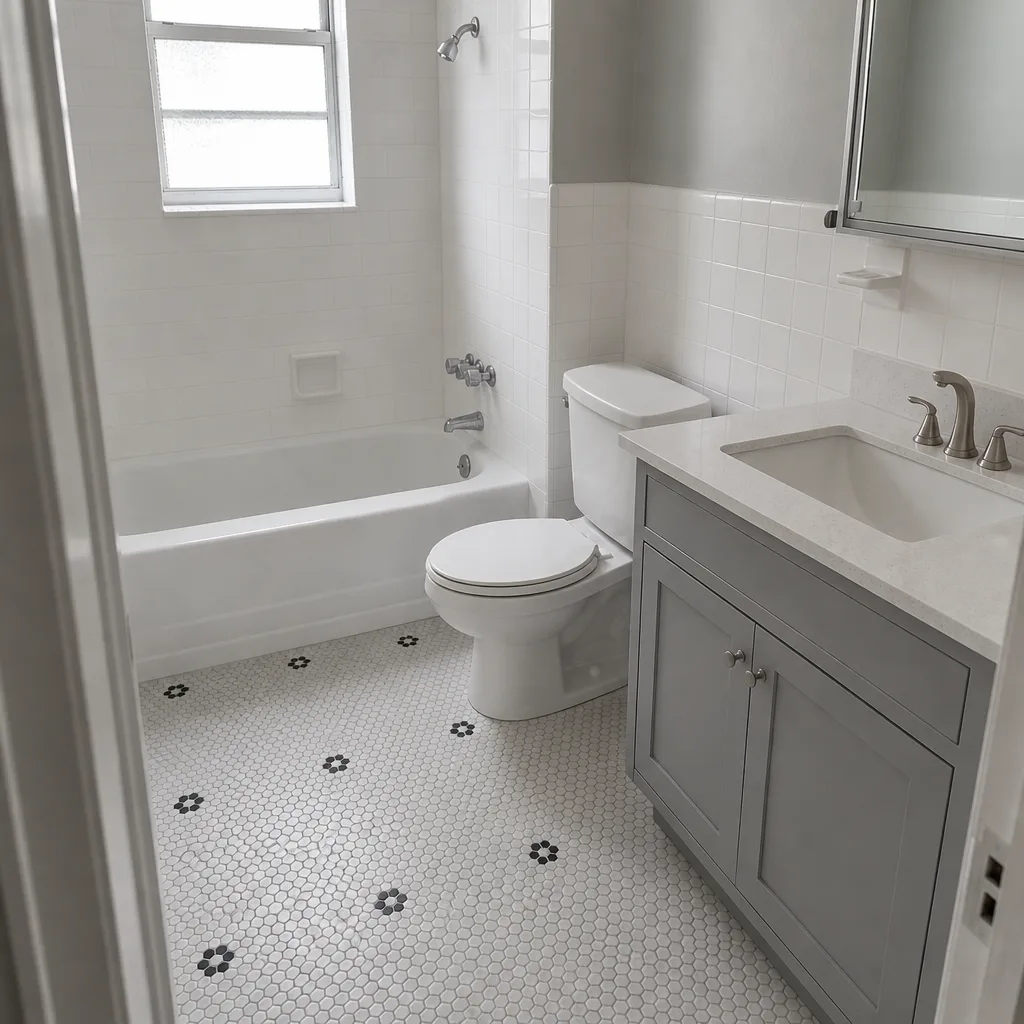 After
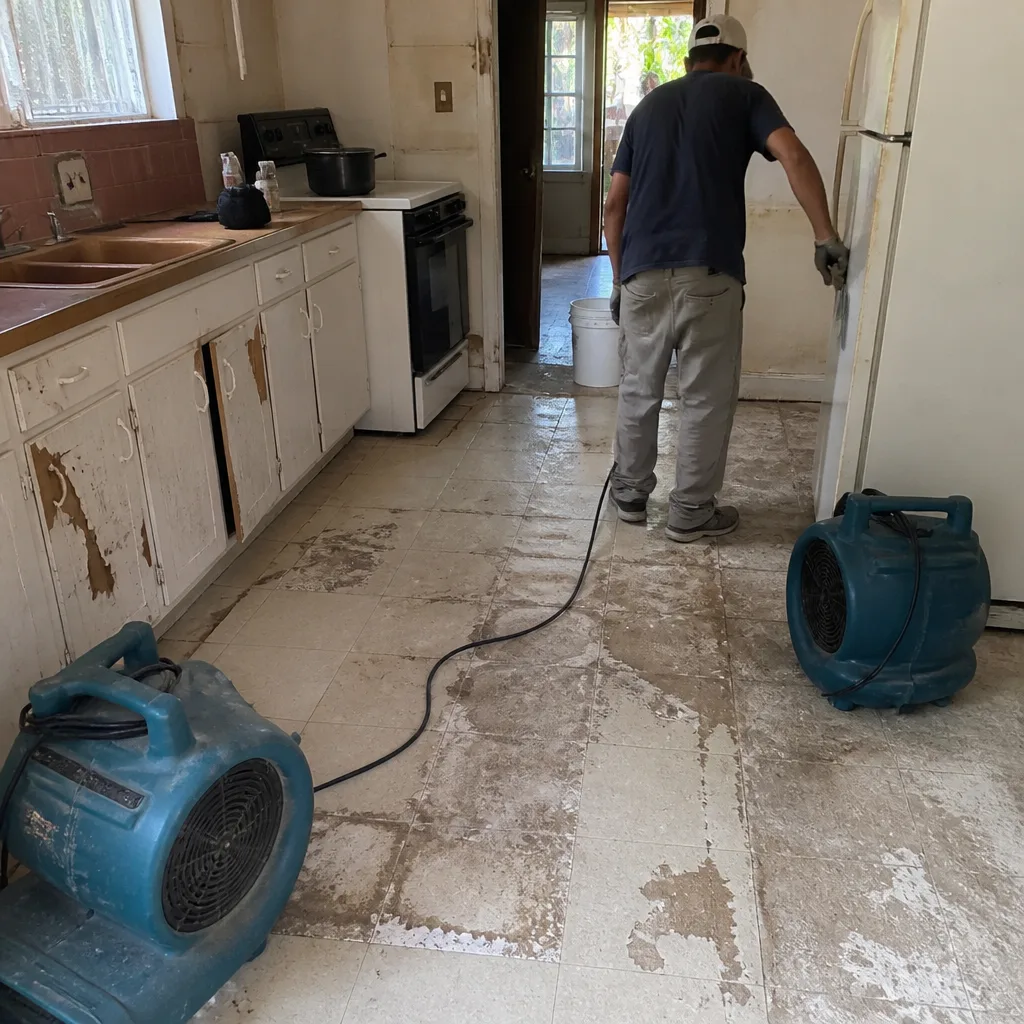 Before
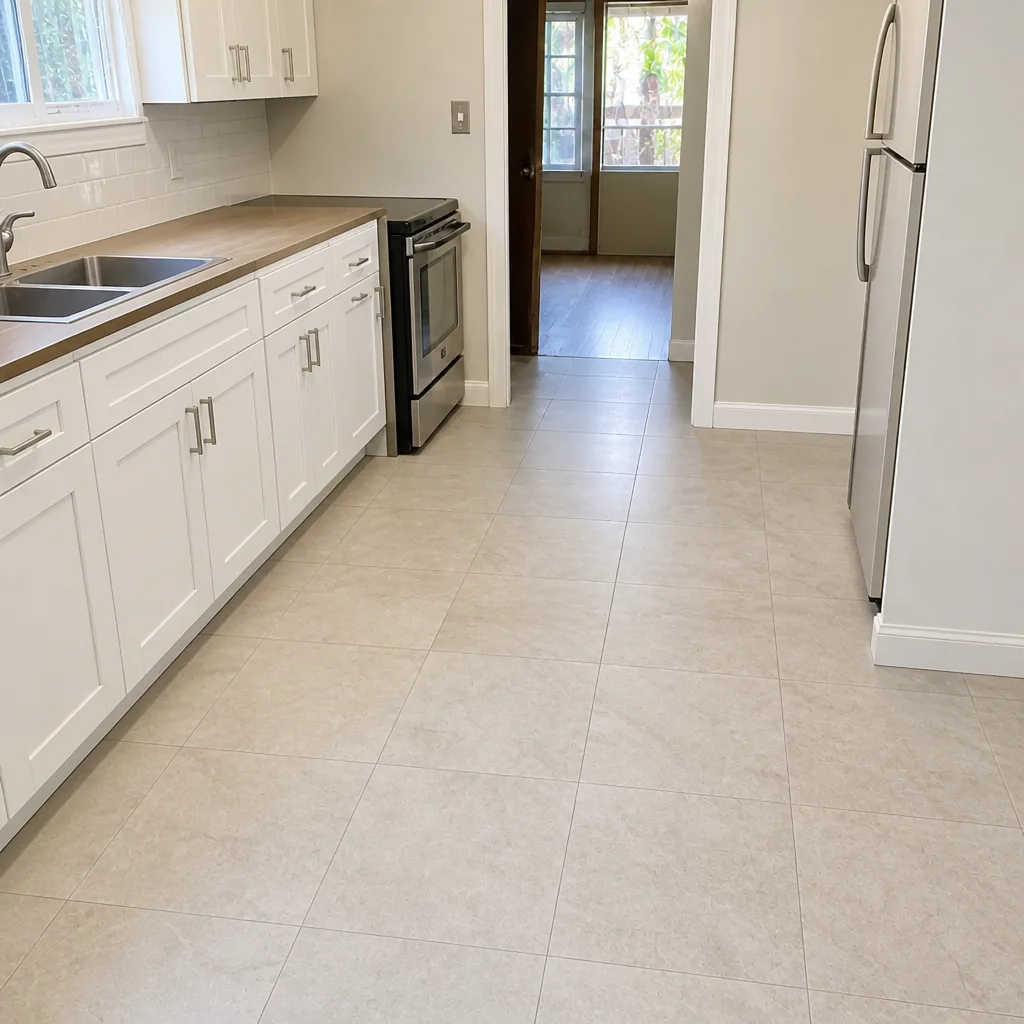 After
When to Call a Professional
Call a professional when a grout crack keeps returning after two re-grouting attempts, when a leak shows through a ceiling below a bathroom, when you can smell mold inside a wall, when tiles lift or rock underfoot, or when your exhaust fan is clearly undersized and the bathroom stays foggy after every shower. Those are all below-the-surface problems that get worse with time and cost more to fix the longer they sit. A water stain on a ceiling today is a rotted subfloor in six months. Don’t try to remove tile or open a wall yourself unless you know what the waterproofing assembly is supposed to look like – you’ll spend more fixing a demolition than you saved. Penhallow Remodeling Miami Beach offers free estimates in Miami Beach and will give you a written price before any work starts. Call (844) 656-1986.
If your problem is larger than a repair, or if the bathroom has been the same since the 1970s, it may be a remodel rather than a fix. We also handle Kitchen Remodeling in Miami Beach and full-home remodeling in Miami Beach if the scope grows.
Frequently Asked Questions
Grout cracking in the same location two or more times means the substrate underneath is moving, not that the grout mix was wrong. The tile has to come up so the substrate can be corrected. In Miami Beach, we see this most often in showers built on older mortar beds without an uncoupling membrane.
No. A properly sized fan clears the mirrors within 10 to 15 minutes after a shower ends, and usually sooner in a warm climate. Persistent fog means the fan is undersized for the room or the duct run is too long and restricted. Call (844) 656-1986 for an exact evaluation and quote – estimates are free.
Shut the water off entirely for 24 hours and mark the stain edge. If it grows with no water running, the supply line is leaking. If it doesn’t grow, run the shower for five minutes and wait 24 hours. If the stain now grows, it’s the drain. If neither test moves it but a damp smell persists, the waterproofing membrane has failed.
Not with us. Every Penhallow Remodeling Miami Beach project gets a written price before any work starts, and the number on day one is the number on the invoice. Repairs do sometimes reveal hidden damage – like a rotted subfloor once a tile floor is up – and when that happens, we stop, show you what we found, and get written approval before proceeding. That’s the difference between a scope change you agree to in writing and a surprise bill.
Surface mold is common and usually not the same problem as cavity mold. It means the bathroom is keeping moisture on cool surfaces because the ventilation is inadequate. Cavity mold, behind drywall or under tile, is a moisture intrusion problem and needs the wall opened up. Both should be addressed – just understand that a spray bottle of cleaner doesn’t fix a cavity problem.
Yes – a permitted remodel in Miami Beach requires that the contractor pull the permit and pass inspection, and a bathroom remodel with plumbing and electrical changes typically needs one. Re-tiling a shower that involves moving the drain or the plumbing fixture location requires a permit. Cosmetic re-tile without moving connections may not. The permit and inspection paperwork protects you, and a contractor who wants to skip it is telling you where the risk is being shifted.
The Bottom Line
Bathroom problems in Miami Beach almost always come back to the same three roots: waterproofing that failed or was never installed, tile set on a substrate that wasn’t prepped, or ventilation sized for a climate we don’t have. Diagnose the root cause before you fix the symptom, and you keep the problem from returning. Grout cracks that reappear, staining below the bathroom, or a musty smell behind the tile are all signals that the surface fix won’t hold – the work lives underneath. Get it documented, get it diagnosed, and get the number in writing before anyone picks up a tool.
If your bathroom is past the repair stage and ready for a proper rebuild, or you want an honest read on what it will take, call Penhallow Remodeling Miami Beach at (844) 656-1986 to schedule a free estimate. We’ll give you a written price, a real arrival window, and background-checked technicians who show up in uniform. Every project carries our written 365-Day Done Right Promise – if it isn’t done right, we come back and make it right.
Written by the team at Penhallow Remodeling Miami Beach.